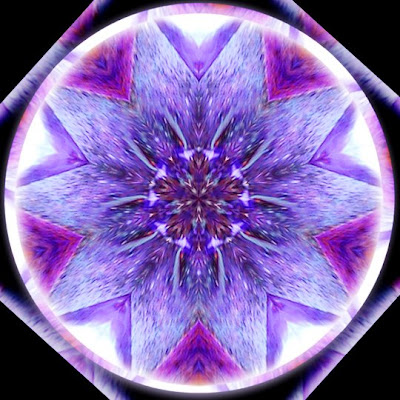
 Soothing Star Mandala - (Winter Series) - © Sue O'Kieffe 2006
It is Sunday and time for my weekly photoshop tips. I was going to write about quick masks today, but I have discovered that the procedure has changed in the latest version of CS3. Ah, the never ending learning curve. More on quick masks at a later date.
So instead I thought I would show you a way to create an extended layer of color around an image -- what I think of as digital matting, by showing you a nifty trick with the crop tool -- (one that I personally can't live without!)
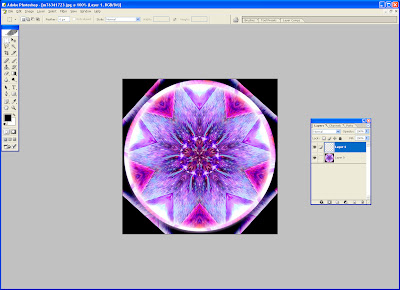 ~ Create a new layer and fill it with white (edit>fill>white)
~ Turn on rulers (view>rulers). Select crop tool and run it around the layer filled in white. Extend the sides of the crop tool markings 1/4" each side and hit enter. The white layer will look like this:
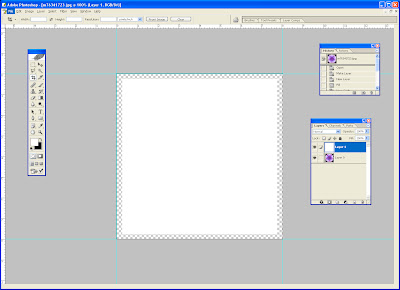 ~ You can see there is a 1/4" transparency where the dimensions of this layer have been extended. Once again fill this layer with white (edit>fill>white) . The big concept here, of course, is that you can fill this layer with the color of your choice, if you dont want to use white.
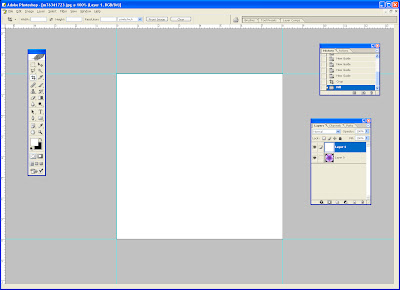 ~ Reverse the layer order in the layers palette so the white layer is on the bottom.
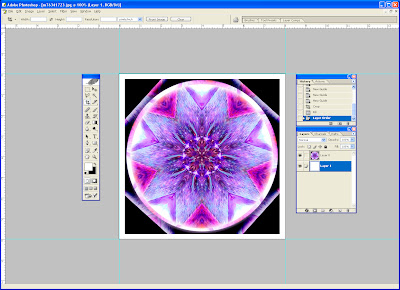 There are other ways in Photoshop to extend the size of a canvas, but this is the easiest way I have found with less math involved. That, for me, is good enough reason right there!
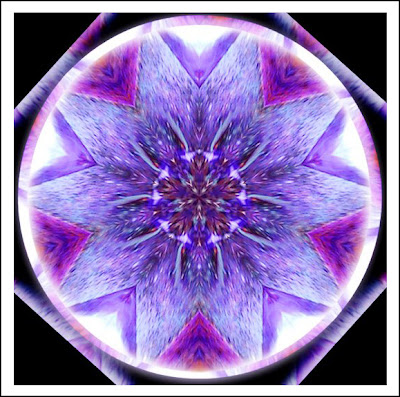 ~ And here is the finished image. For demonstration purposes I added a 3 px black stroke (line) around the white layer (edit>stroke>black).
Did you find this helpful? Be sure and let me know!
9 comments:
Yes, absolutely helpful - it never occured to me that this was possible. I know about sending layers to the back, but didn't know about the cropping and matting trick. Or the stroke! Brilliant stroke, heehee!
But why in heaven's name do they call it a mask if it's just another layer?
Beautiful mandala as always.
This is not a mask, Rima. I will write about masks later.
Another thing about this technique of increasing the size of your canvas...it can also be used at times when the size of the canvas you started with just isn't large enough. i can see it coming in handy for digital collage.
oops and double oops! blame it on late night zombiness. But really, thanks again for this, it's a whole new level of proficiency for me.
This is a very organic looking image. I want to hold it and take a big luscious bite out of it. I wonder what it tastes like? Maybe a bit like a strawberry and an apple?
Sue, I am saving all your posts because I find them very clear and I will use them when i buy the software (can't believe I've been home for ten days already!)
Hi Sue, this is a beautiful mandala! Very very nice!
Myself, I tend to resize the canvas (image to canvas size) and then make sure I have the right background color to add.
Thanks for sharing this other way. And again this mandala rocks!
~ Diane Clancy
www.dianeclancy.com/blog
All rightee! I've been trying this for a few days now, and it's working beautifully for me - this has really, really been helpful, so thanks a heap.
I did have some trouble at the beginning though, because it turned out I needed to fill in the new layer with something else than white
This works wonderfully, Sue. I had a lot of trouble trying to do this when I made one of my first images. I looked everywhere for some predefined photo mats, but there were none...
Just tried this, and it worked well. In Photoshop7, the extended edges automatically turned white when I pressed enter. Thanks, Sue :)
Post a Comment