1) There are many ways to make selections in Photoshop. For purposes of this tutorial think of selection making as a way to assist in editing, altering, and changing an area in an image. In this tutorial what I have chosen as my desired end result is to blur out the somewhat distracting background. I am going to do that by choosing quick mask mode and masking out the stuff in the back in order to select it. This will become clearer as we continue, so just bear with me!
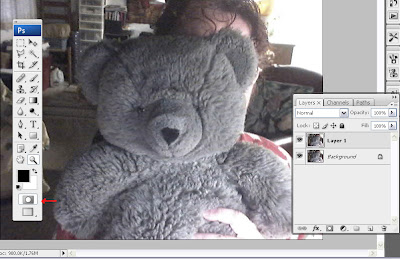
 2) In order to enter into quick mask mode, press Q. You can easily switch back and forth between the two modes by pressing Q back and forth. The quick mask editor button looks a little different depending on which version of Photoshop you are using. Check it out now by pressing Q and you will see the quick mask button lit up and not lit up in the tool window. I have drawn an arrow to its position on the Photoshop CS3 tool window, the version of Photoshop I am using.
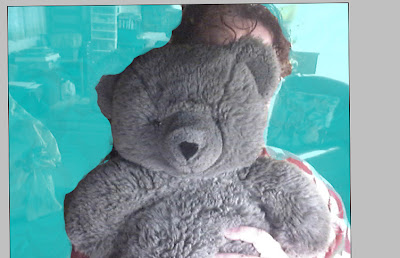
3) Double click on the quick mask mode button. You will see that the default color Photoshop uses for quick masking is red. For this demonstration I chose an aqua blue color for my quick mask because there is red in my blouse. Using blue will make it easier to see where I have painted "outside the lines."
- Press D to set colors to default(black/white)
- Press X if black is not the foreground color
- Press B for the brush tool
- Press the right ] bracket key to increase the size of your brush and the left( [ ) bracket key to decrease and paint/mask the background.
4) Press Q to exit out of quick mask mode. You will see the characteristic marching ants (moving dotted lines) that are associated with selections where you painted in the blue mask. The quick mask window is no longer highlighted either.
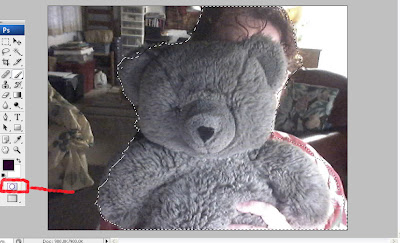 But what if you painted in areas you don't want masked out? Remember the Photoshop mantra -- Black conceals and white reveals --? Press X to set white to the foreground color, press Q to reenter quick mask mode, and paint out the areas you don't want masked. If you look at this image, the area along my left sleeve was painted in blue and I didn't want that masked out. I returned the image to quick mask mode by pressing Q, and painted that and other areas in white that needed to be adjusted.
So, once you have adjusted the mask to the way you want it, press Q again to exit out of the quick mask mode.
5) Remember that what I am wanting to do is blur out the background. It is that area that needs to be surrounded in marching ants. Go to Select> Inverse (Ctrl/Cmd+Shift+I) to accomplish this.
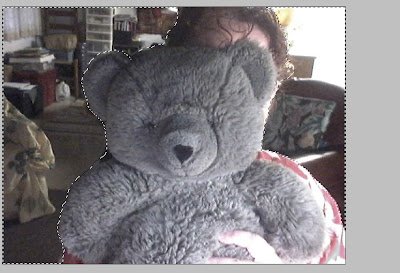
6) Go to Filters>Blur>Gaussian Blur and blur the background to the desired amount by moving the radius setting. I set this at 74.
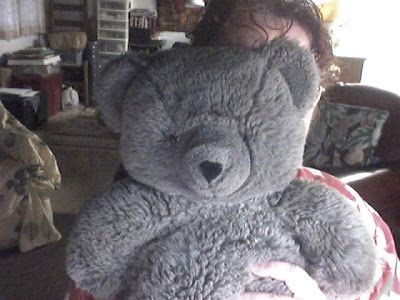
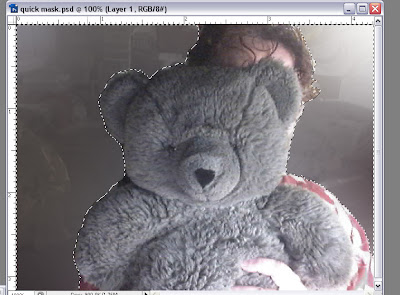 7) Finally, delete the selection (Ctrl/Cmd+D), create a duplicate layer (Ctrl/Cmd+J), and set the blending mode for the duplicated layer to Overlay. Doesn't Pearl look ravishing now?
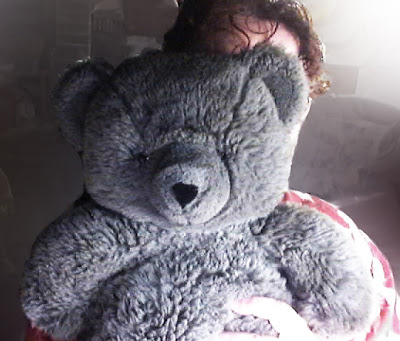
If you have any questions about this tutorial, leave a comment or email me at the contact address above.
Happy Photoshopping!
© Sue O'Kieffe 2007
4 comments:
Looks good - Eagerly anticipating trying it out - thanks.
BTW you have an award over at my blog. If you look at the post 'Kind thought from Irene' you will find it there.
Hi Sue,
Thanks for posting this. Again I learned things - and you are a master with the shortcuts!!
~ Diane Clancy
www.dianeclancy.com/blog
Hey Sue!! Great tutorial but it hasn't answered a burning question: WHO is behind that cute teddy bear? Huh??? LOL!
excellent site..........
Post a Comment