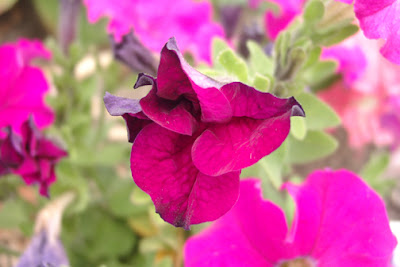
 I started with this image of petunias, created a selection using the marquee tool (press M), then copied(ctrl/cmd+C) and pasted (ctrl/cmd+V) into a new layer. Everytime you paste your copied selection, it creates a new layer.
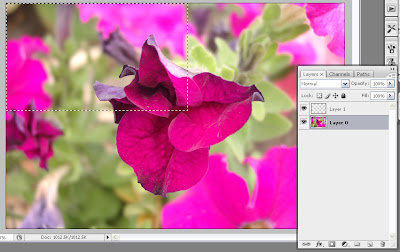
I built different layers of the quilt using different sized selections from the original background image. Don't forget to change the name of the background image to Layer 0 (double click on Background layer to change the name) or duplicate the layer (ctrl/cmd+J).
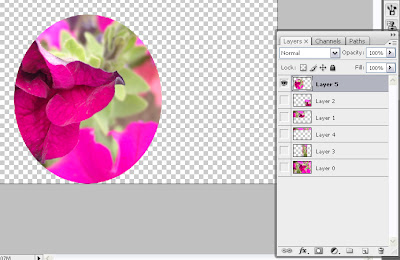
I decided to experiment with oval selections as well...
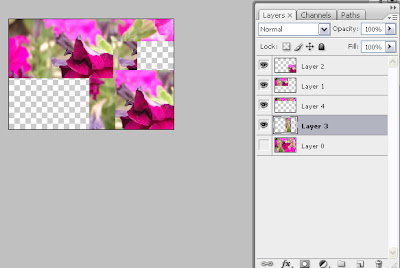
 ...and kept building layer and layer until the canvas was full
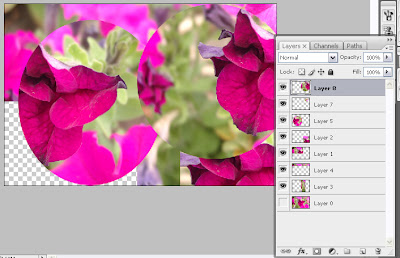 This last selection will go onto that blank spot on the left down there!
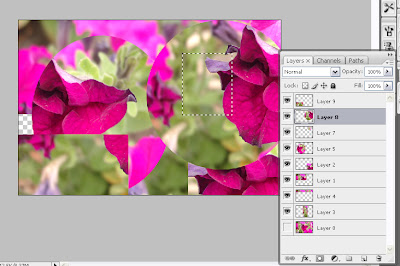 Now that all the blank spaces are filled in, I can begin having fun!
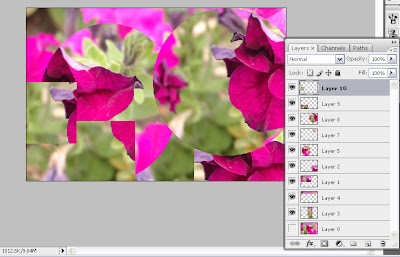
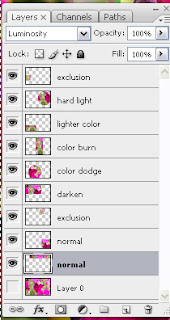
This is the layer palette for the final image below. As you can see I experimented with different blending modes for each layer. I like to name each layer with the name of the blending mode I used (double click on layer and rename it.) I wrote previously about blending modes here and here. I rely on this feature heavily in my art.
The final image, my digital quilt, is below. It is really just a jumping off point for whatever you might chose to do next. It is my understanding that anyone using Photoshop Elements or Photoshop Essentials has the capacity to use blending modes. The other tools and commands go back at least as far as Photoshop 5.
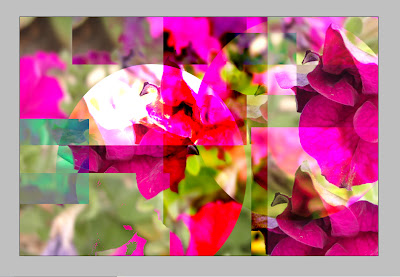 "Petuniad, A Digital Quilt"
Please feel free to use this final image however you want. If you do, please be sure to let me know what further alterations you made and link back to my blog. I always enjoy seeing what other people are doing.
And hey, if you enjoy my tutorials and have even learned a little something along the way, won't you consider making a donation to the cause? Tipping is not just a city in Peiking!
Happy Photoshopping!
© Sue O'Kieffe 2008
2 comments:
Thank you for the lovely tutorial, Sue. As is usual, it is wasted on me, because I can't seem to take in written instructions, I seem to have some form of dyslexia and I know there is a word for it, but I forget what it is. I have to see people do it and then copy what they do, just like I need slides by a lecture. Don't worry, though, I am fine making my mandalas and puttering around at my own speed with Paintshop Pro.
I do appreciate the time you take to explain the process to those people who really catch on, like Bobbie.
Here's to your great mandala making and being the master of it!
Sue, Thank you so much for making another tutorial. I'm rather tired tonight, but you can be sure I'll be following your instructions soon. Love this Pansy Quilt :)
Post a Comment