Well, it has been a while since I've done a Photoshop tutorial. But as I promised in my post yesterday, I said I would deconstruct how to make a mandala prayer flag. I have covered most of the steps I used to create one of these flags in previous tutorials, but I have never talked about clipping masks. Don't worry; they are easy as can be!
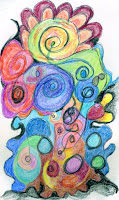
So first I drew a doodle and colored it using crayola and caran d'ache neocolor II crayons and scanned it to my hard drive.
For those of you who have followed my blog for a while, you probably know by now I use the templates on
this website to create my mandalas. I feel a debt of gratitude to Komra Mokiro for her visionary approach to using Photoshop in this process.
This is the basic mandala I created using the five wedge template found on the Earth Mandala website.
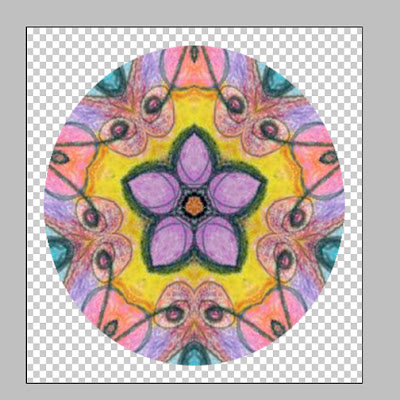
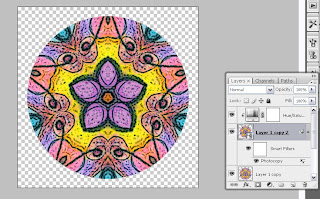
I duplicated the image (Ctrl/Cmd+J) , pressed D to set the colors to default, applied the photocopy filter (filters>sketch>photocopy), setting the detail at 2 and the darkness at 27. Then I set the blending mode to Multiply, which created the dark outlines in this image.
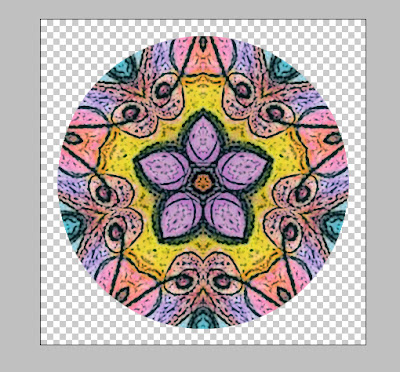
I thought the image looked a little dull, so I decided to use a Hue/Saturation adjustment layer to boost the intensity a bit. I only wanted it to affect the layer with the photocopy filter. Otherwise the adjustment layer would affect all of my layers! This is an important concept to understand when working with adjustment layers and considering their placement in your layer palette.
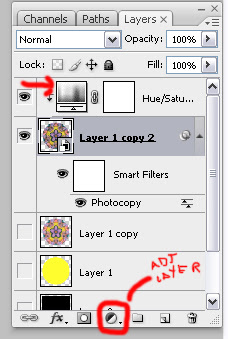
In order to create a clipping mask hold down the alt/option key, press the adjustment layer icon and select Hue/Saturation adjustment.
Tick the box that says:"Use Previous Layer to Create Clipping Mask" As you can see the Hue/Saturation adjustment layer is indented. This show it relates to only the layer underneath it. A regular adjustment layer affects
all layers below it.
Using Hue/Saturation, set Hue at 2 and Saturaton at 26. The yellow center is most noticeably more vibrant.
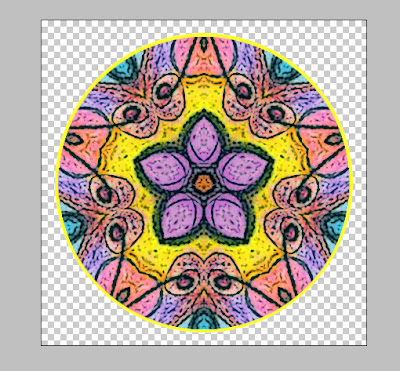
I created a new layer and chose the elliptical marquee tool. Holding down the alt/opt key and pulling upward from the center of the mandala made the selection I was creating into a perfect circle. I wanted the circle just a little larger than the circle of the mandala. Go to Edit>Fill and fill the selection with yellow.
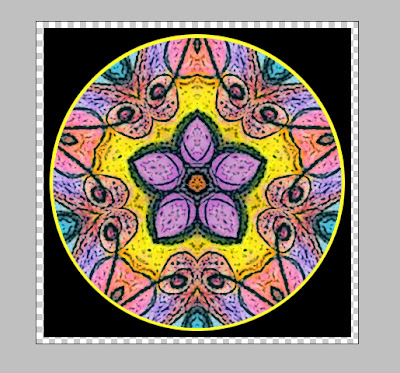
Double click on the background layer, change the name to Layer O and fill it with black (Edit/Fill). Create a new layer, and reverse the order of the layers in the layer palette, so Layer 2 is on the bottom and Layer 0 is above it. Highlight Layer 2 in your layer palette. Select Layer 2 using the crop tool (Ctrl/Cmd+C) . Hold down the alt/option key in order to expand the size of your square so it is equal on all sides.
Fill Layer 2 with a bright turquoise color.
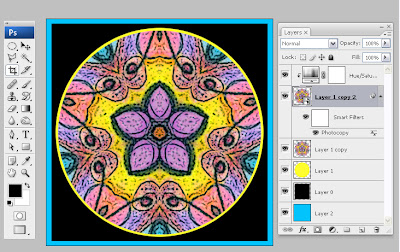
Here is the finished image.
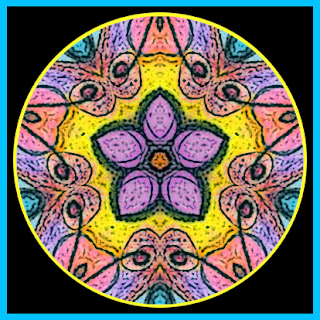
If you have any questions about this tutorial, be sure to let me know. I hope you all have a wonderful holiday. I will return with more Photoshop fun in 2008. Thank you all for continuing to inspire me in this journey of creation.
Happy Photoshopping!
© Sue O'Kieffe 2007
 I liked the finished image above but thought the background was kind of boring, so I wondered what a pattern isolated as a selection from the mandala would look like. I am a big fan of texture in my work, and making patterns is another way to create it. This is how:
 For this image I moved the scale slider to 420% so that the pattern was almost obliterated. I also placed a clipping mask adjustment layer (photo filter>green) above the background layer to mute the color of the background.


